
 Image 1 of 3
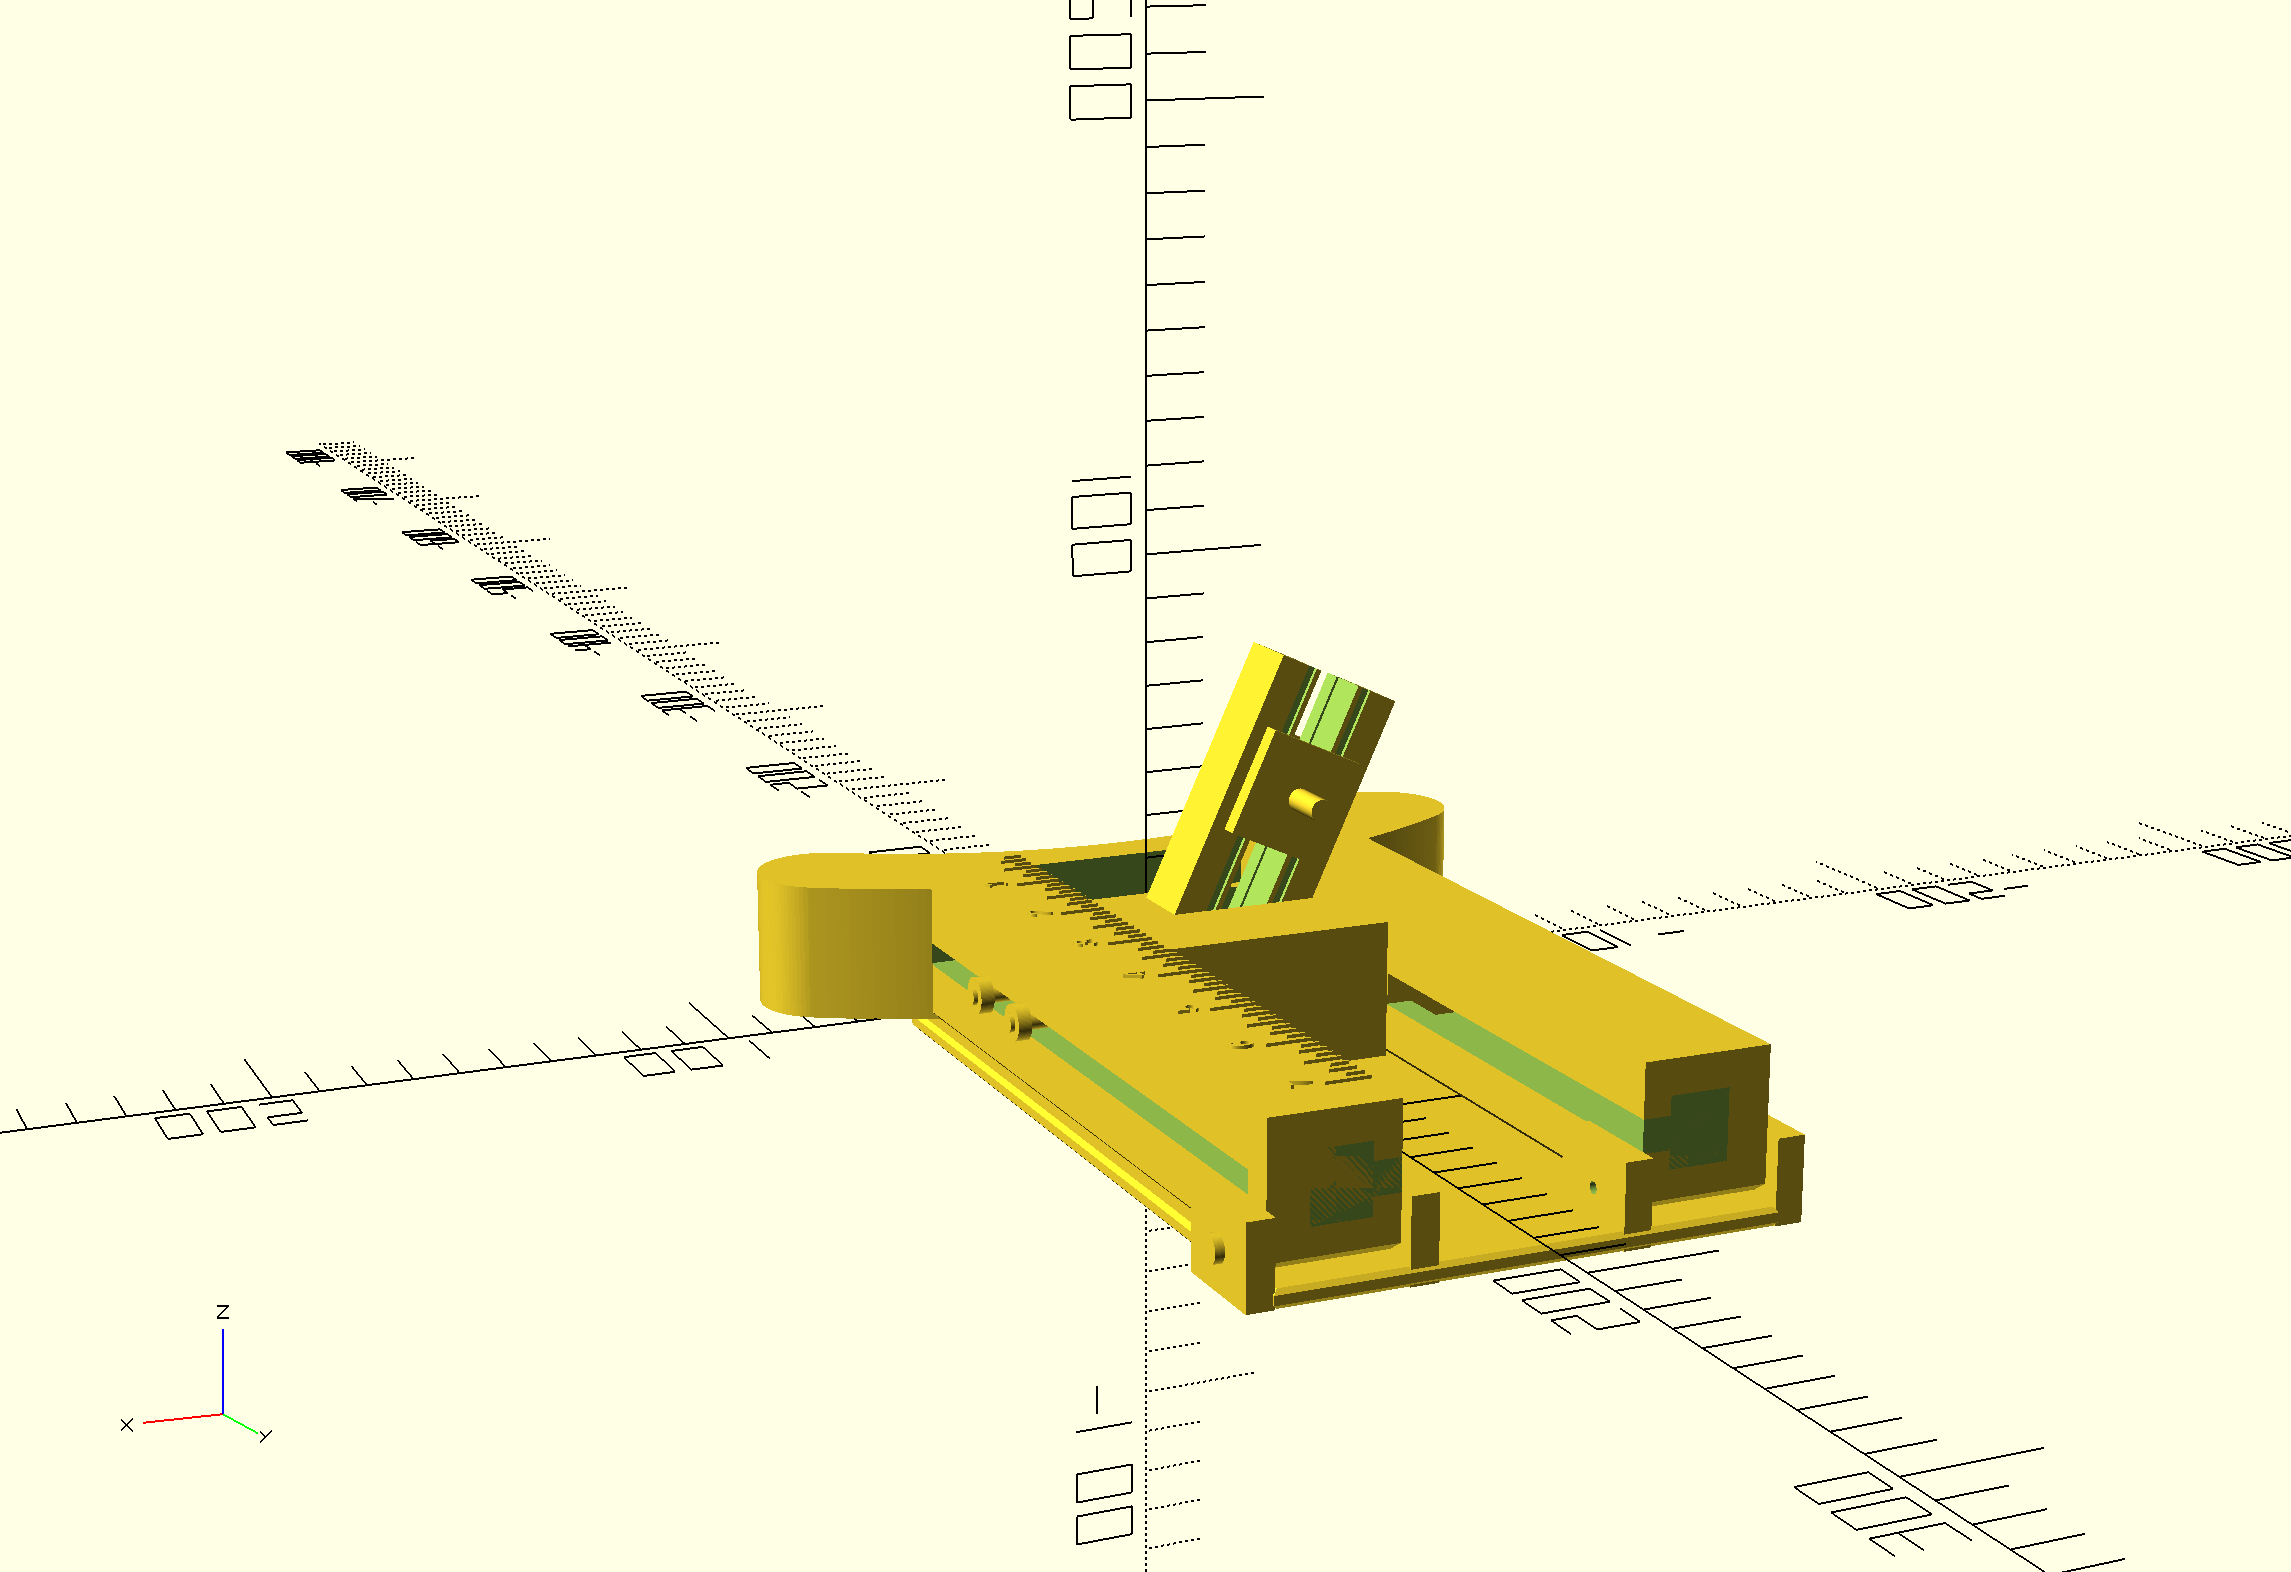 Image 2 of 3
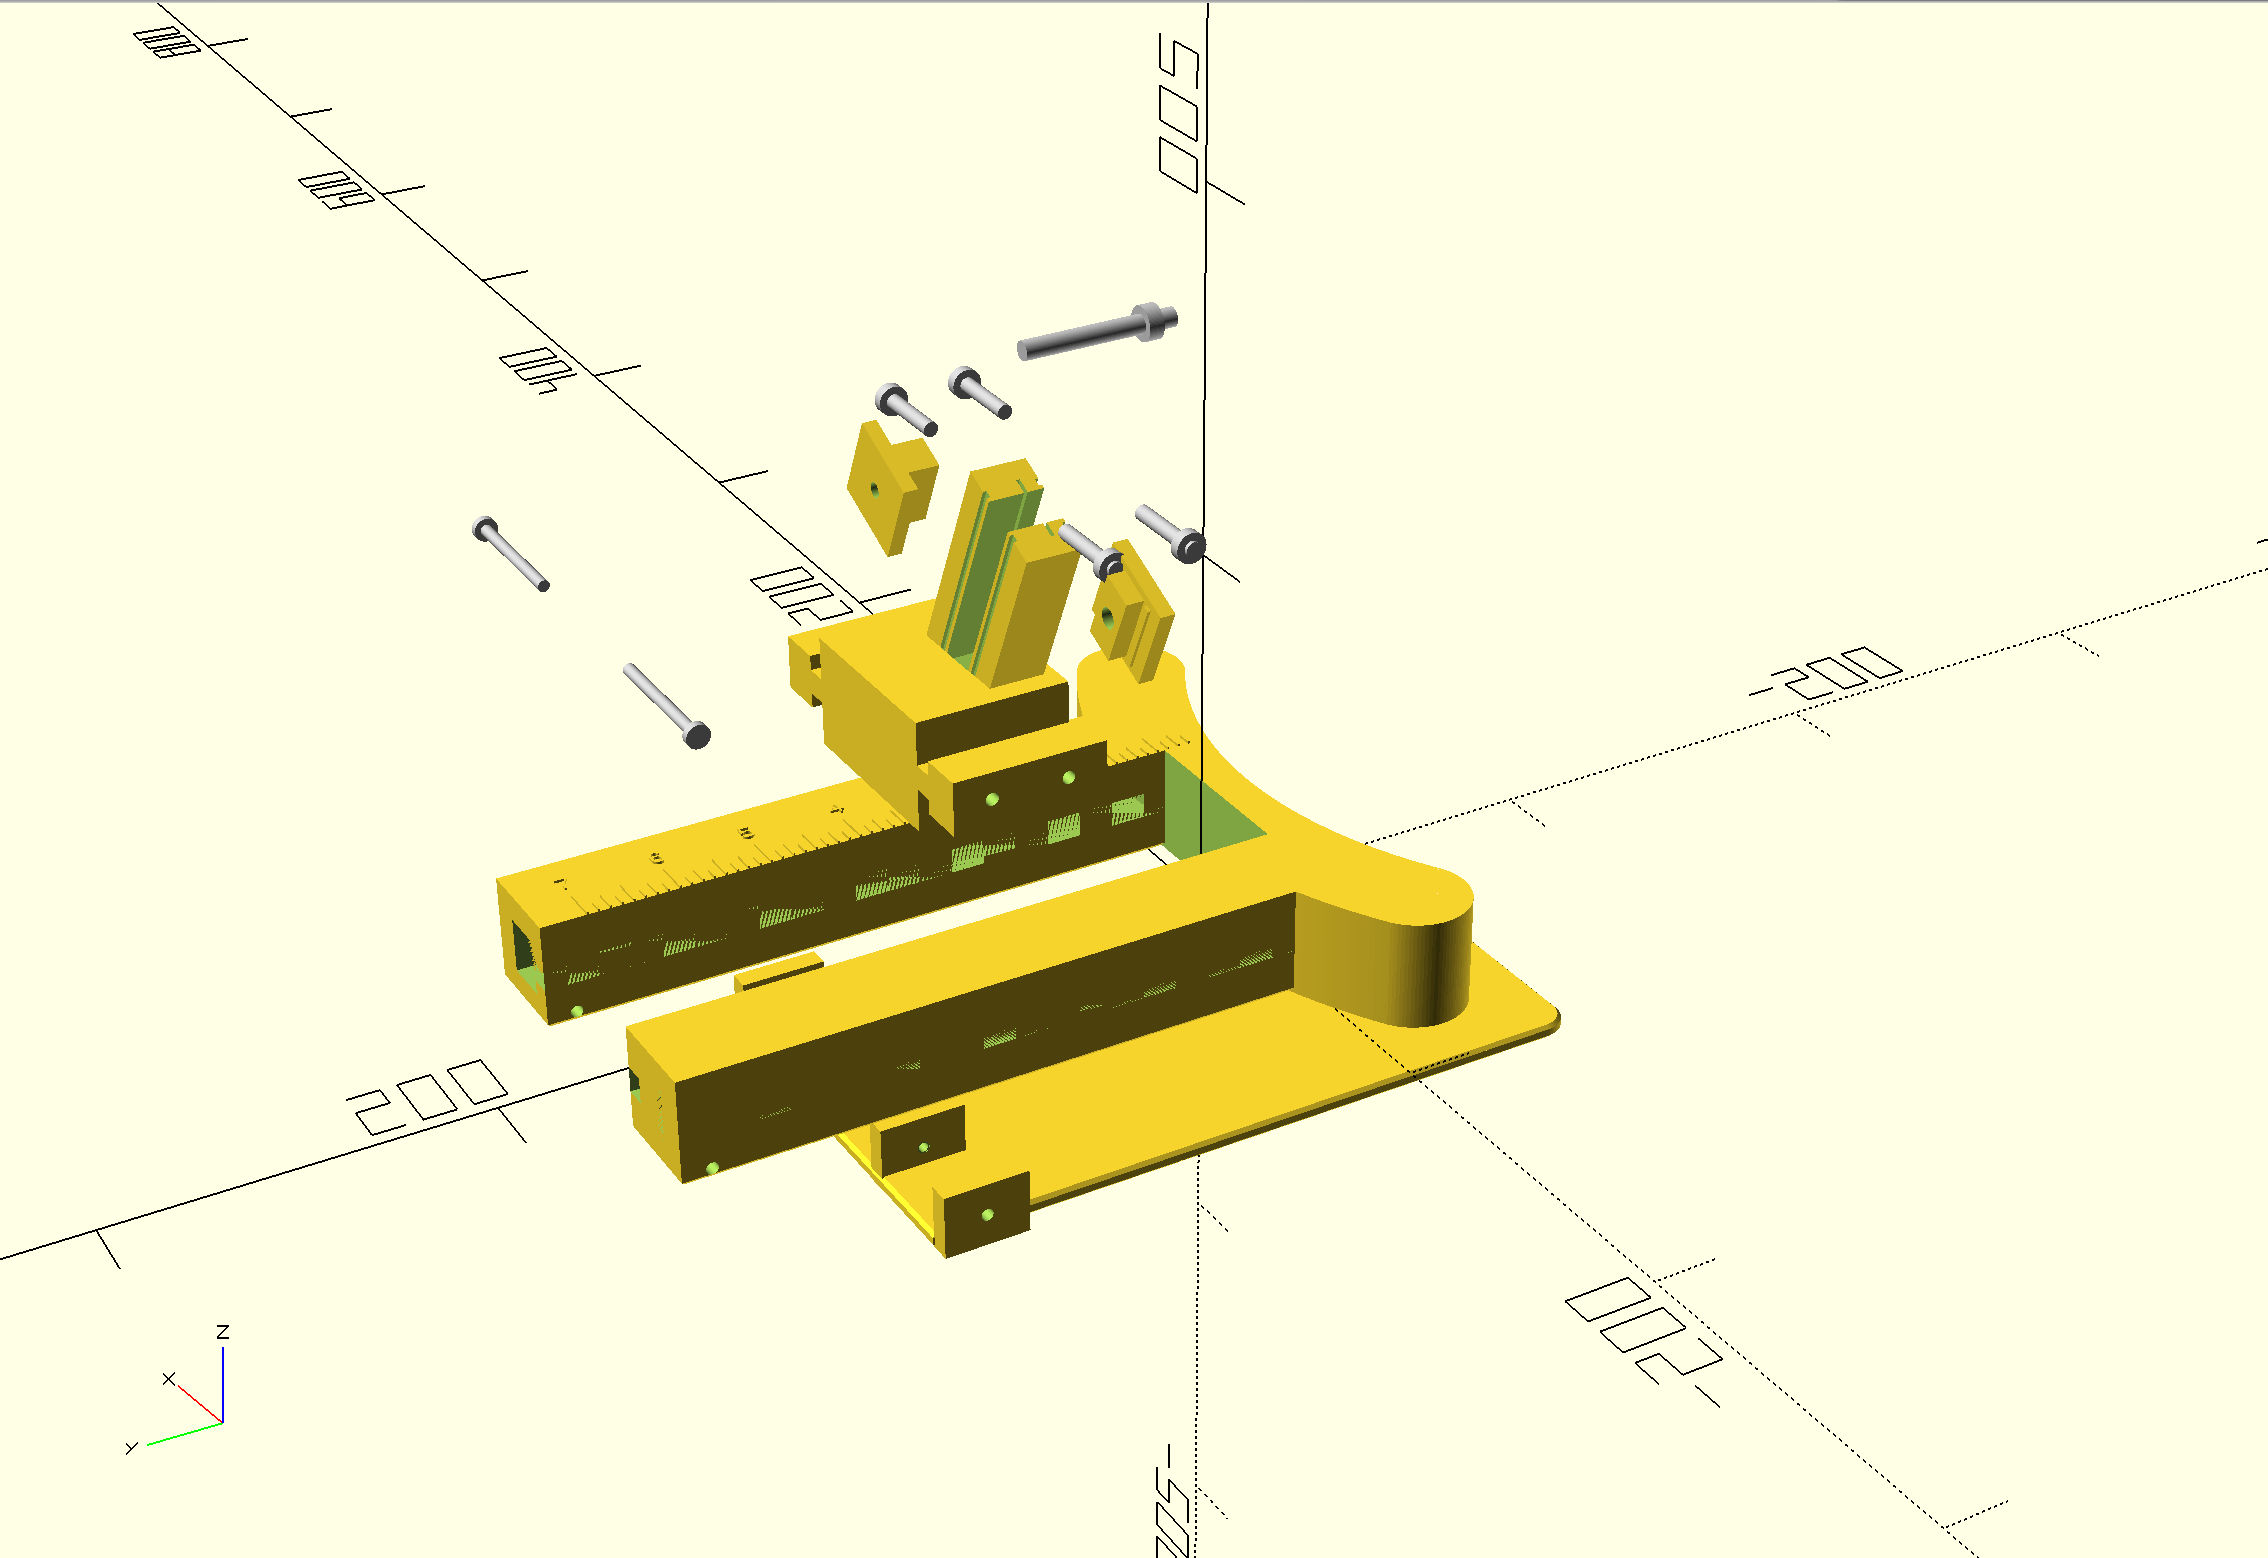 Image 3 of 3
Digital Rounding Jack Files, 3D Printable Brim Cutter for Hat Making
A rounding jack is used to cut a hat brim to a consistent width all the way around the crown.
These digital files are made for hatters, hobbyists, and makers who want to print their own brim cutting tool instead of trying to find or buy a traditional rounding jack. It is a practical option for anyone building a small hat-making setup one tool at a time.
A clean brim cut makes a big difference in how finished a hat looks. Trying to measure and cut the brim by hand can work, but it is easy to end up with uneven spots, especially once the brim has been shaped or handled. A rounding jack gives you a more controlled way to set the brim width and follow the shape of the crown as you cut.
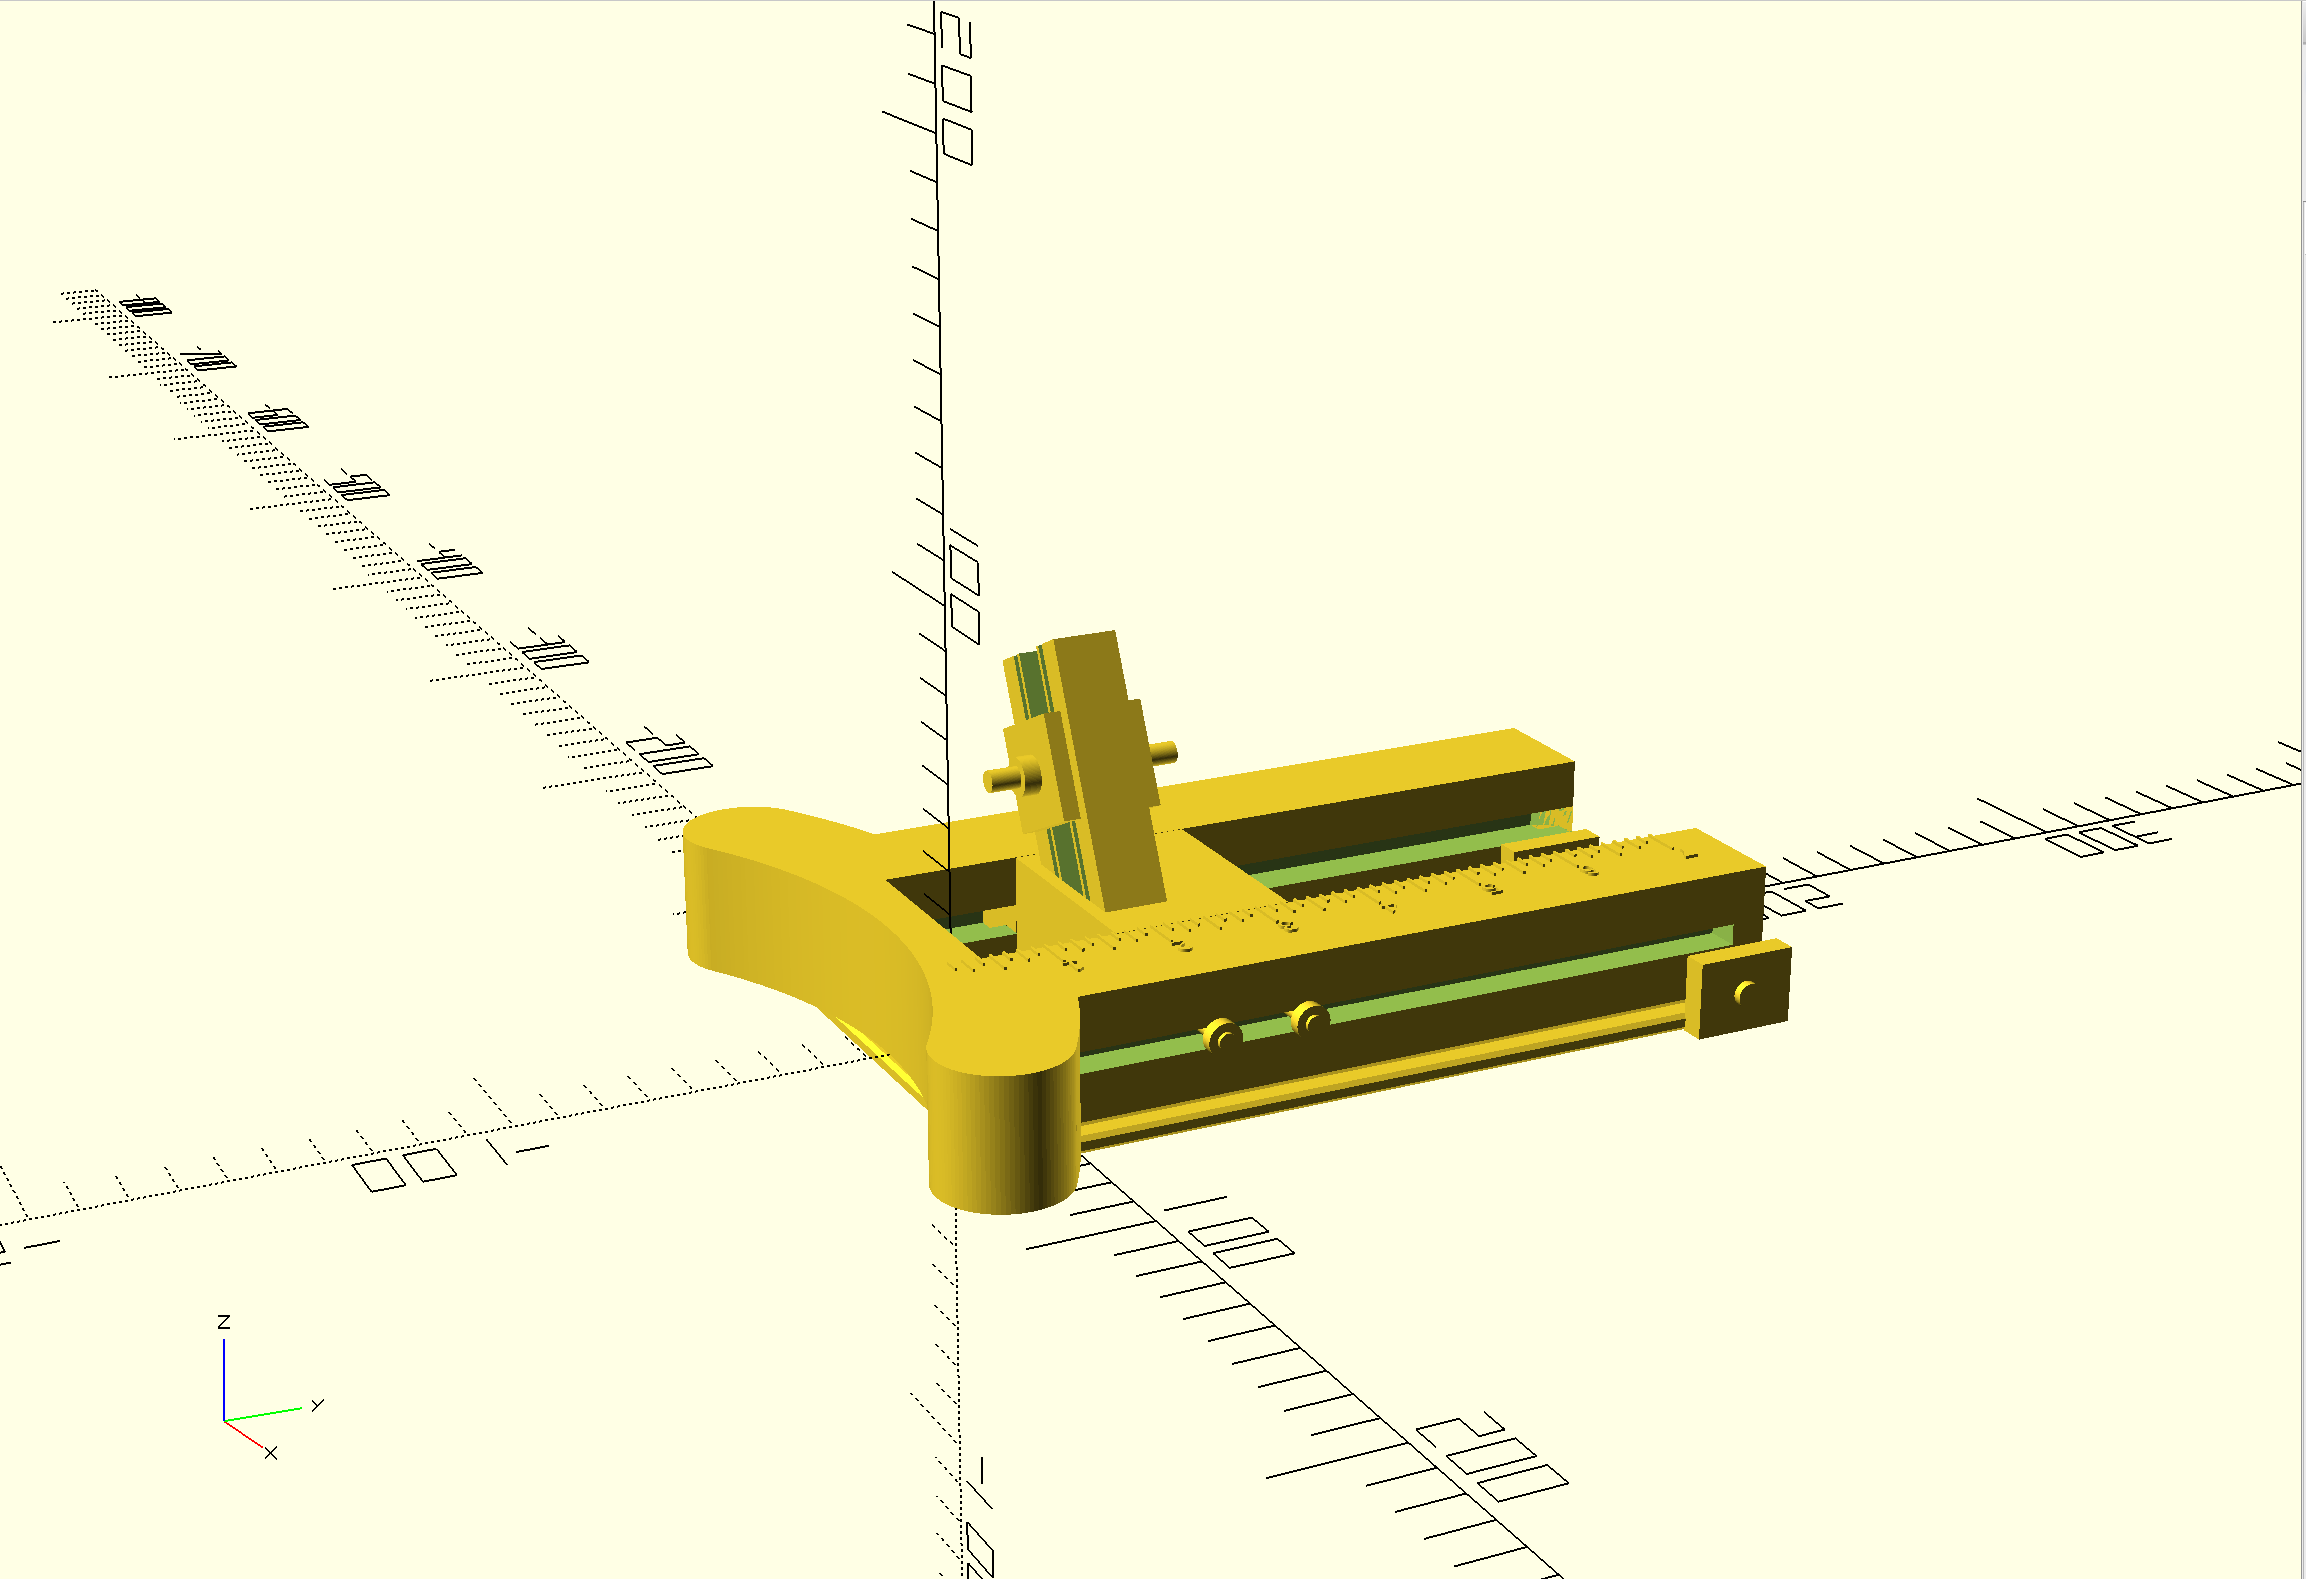
This tool is designed to ride against the crown of the hat while the blade is set to the brim width you want. Once adjusted, it helps keep the cut more consistent around the full brim.
These are digital files only. No physical tool, blade, or hardware will be shipped.
You will need access to a 3D printer and basic knowledge of slicing, printing, assembling, and fitting printed parts. Because this is a functional tool with moving parts, your final result will depend on your printer, filament, slicer settings, calibration, hardware, blade choice, and assembly.
PETG is the recommended starting material. It is tough, practical, and more heat resistant than many basic printing materials, which makes it a good choice for shop tools that may be handled regularly and used around steam, moisture, and felt work.
For heavier use, materials such as ASA, ABS, nylon, or polycarbonate may be suitable if your printer is properly set up for them.
Suggested starting settings:
0.2 mm to 0.28 mm layer height
4 to 6 walls
25% to 40% infill for main body and carriage
100% infill for clamps
Gyroid, cubic, or grid infill
5 or more top and bottom layers
Print parts in the orientation recommended in the file notes when provided
These settings are only a starting point. Final strength, smoothness, fit, and adjustment will depend on your printer and setup. Some sanding, cleanup, or light fitting may be needed after printing, especially on sliding or clamping parts.
Required hardware:
4 × M4 × 30 mm screws with washers for the carriage sliders
2 × M3 × 25 mm screws, with or without washers, for the rear hinge plate
1 × M5 × 30 mm screw for the blade clamp
1 x M5 Nut (Nylock preferred)
Screw lengths are based on the current design and may need small adjustments depending on your printer, slicer settings, print tolerances, hardware style, and final assembly fit. Test-fitting before final assembly is recommended.
A sharp blade is important. Use carefully, take light cuts, and always test your setting before making a final cut on a hat. Like any brim cutting tool, the result still depends on setup, blade sharpness, and steady handling.
This file set is a good option if you are shaping hats, trimming raw brims, cleaning up uneven brim edges, or building out your own hat-making tool set.
Digital Rounding Jack Files, 3D Printable Brim Cutter for Hat Making
A rounding jack is used to cut a hat brim to a consistent width all the way around the crown.
These digital files are made for hatters, hobbyists, and makers who want to print their own brim cutting tool instead of trying to find or buy a traditional rounding jack. It is a practical option for anyone building a small hat-making setup one tool at a time.
A clean brim cut makes a big difference in how finished a hat looks. Trying to measure and cut the brim by hand can work, but it is easy to end up with uneven spots, especially once the brim has been shaped or handled. A rounding jack gives you a more controlled way to set the brim width and follow the shape of the crown as you cut.
This tool is designed to ride against the crown of the hat while the blade is set to the brim width you want. Once adjusted, it helps keep the cut more consistent around the full brim.
These are digital files only. No physical tool, blade, or hardware will be shipped.
You will need access to a 3D printer and basic knowledge of slicing, printing, assembling, and fitting printed parts. Because this is a functional tool with moving parts, your final result will depend on your printer, filament, slicer settings, calibration, hardware, blade choice, and assembly.
PETG is the recommended starting material. It is tough, practical, and more heat resistant than many basic printing materials, which makes it a good choice for shop tools that may be handled regularly and used around steam, moisture, and felt work.
For heavier use, materials such as ASA, ABS, nylon, or polycarbonate may be suitable if your printer is properly set up for them.
Suggested starting settings:
0.2 mm to 0.28 mm layer height
4 to 6 walls
25% to 40% infill for main body and carriage
100% infill for clamps
Gyroid, cubic, or grid infill
5 or more top and bottom layers
Print parts in the orientation recommended in the file notes when provided
These settings are only a starting point. Final strength, smoothness, fit, and adjustment will depend on your printer and setup. Some sanding, cleanup, or light fitting may be needed after printing, especially on sliding or clamping parts.
Required hardware:
4 × M4 × 30 mm screws with washers for the carriage sliders
2 × M3 × 25 mm screws, with or without washers, for the rear hinge plate
1 × M5 × 30 mm screw for the blade clamp
1 x M5 Nut (Nylock preferred)
Screw lengths are based on the current design and may need small adjustments depending on your printer, slicer settings, print tolerances, hardware style, and final assembly fit. Test-fitting before final assembly is recommended.
A sharp blade is important. Use carefully, take light cuts, and always test your setting before making a final cut on a hat. Like any brim cutting tool, the result still depends on setup, blade sharpness, and steady handling.
This file set is a good option if you are shaping hats, trimming raw brims, cleaning up uneven brim edges, or building out your own hat-making tool set.